Resumo: O Puppeteer permite-lhe controlar totalmente uma instância do Chrome sem interface gráfica a partir do Node.js, tornando-o na ferramenta de eleição para extrair páginas renderizadas em JavaScript. Este guia orienta-o através da instalação, extração baseada em seletores, rolagem infinita, preenchimento de formulários de login, interceção de pedidos, plugins de modo invisível, exportação de dados estruturados e implementação no Docker, para que possa passar de um script experimental para um scraper pronto para produção.
O web scraping é a prática de extrair dados de websites de forma programática e, quando esses sites dependem de JavaScript do lado do cliente para renderizar o seu conteúdo, uma simples solicitação HTTP não é suficiente. É necessário um navegador real, ou pelo menos algo que funcione como tal. Esse é exatamente o problema que o Puppeteer foi criado para resolver.
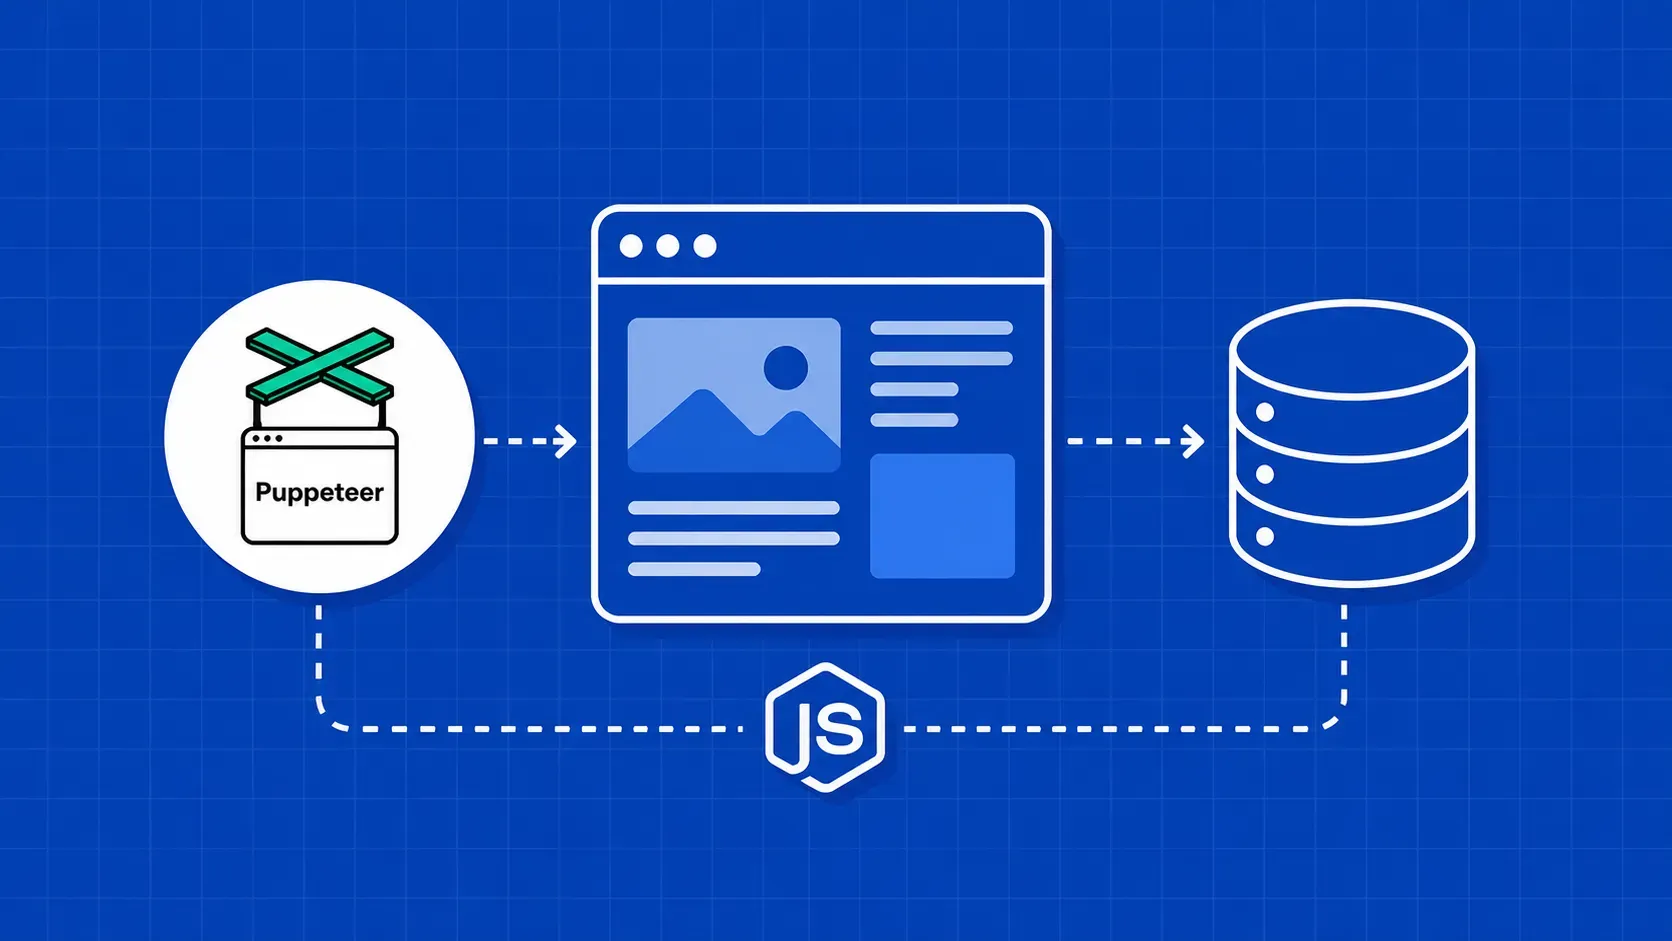
O Puppeteer é uma biblioteca Node.js que permite fazer web scraping com o Puppeteer e o NodeJS, controlando uma instância do Chrome sem interface gráfica (ou com interface gráfica) através do Protocolo Chrome DevTools. Ele pode clicar em botões, preencher formulários, percorrer páginas e avaliar JavaScript arbitrário no contexto da página, devolvendo depois os resultados ao seu script. Para programadores já familiarizados com JavaScript, é um dos caminhos mais naturais para os fluxos de trabalho de scraping com navegador sem interface gráfica.
Neste tutorial, irá aprender a configurar um projeto Puppeteer a partir do zero, extrair dados de páginas estáticas e dinâmicas, lidar com paginação e rolagem infinita, interceptar chamadas de API ocultas, evitar a deteção de bots, exportar os seus resultados para JSON e CSV e implementar tudo dentro de um contentor Docker. Todos os exemplos de código destinam-se ao Node.js 18 ou posterior, e fazemos referência à superfície da API do Puppeteer v24 ao longo de todo o tutorial. Quer esteja a construir um rastreador de preços, um pipeline de geração de leads ou uma ferramenta de investigação académica, os padrões deste guia irão levá-lo à produção mais rapidamente.


